- Add an Extra Field for a Schema Type
- Enable/Disable Schema Markup
- Add Ratings Using Shortcode
- Disable a Specific Schema Markup
- Add Schema Markup on Subcategories
- Disable the White Label Settings
- Disable Corporate Contact Schema
- Remove Home List Item from Breadcrumblist Schema
- Remove Shop Item Link on Product Page
- What is the future of Schema Pro now that SureRank has launched?
- How to Use Schema Pro with SureRank
- Test a Schema Snippet
- Mapping Your Schema Fields
- Add an Extra Field for a Schema Type
- How to Use the Schema Pro plugin?
- All-in-one Schema Pro plugin
- Map Required fields with Custom Fields
- Create a Custom Fields
- Target Specific Areas of the Website
- How to Add a Schema markup for an Article on your website?
- Difference Between the Free and Pro Plugin?
- How to map fields with custom fields from third party plugins?
- Accept User Ratings from Users
- Update Schema Pro
- Register Your Copy of Schema Pro
- Organization Type in the Setup Wizard
- Schema Pro Setup Wizard
- Getting Started With Schema Pro
- How To Install Schema Pro Plugin
- Schema Markup for an Event page
- Schema Markup for a Review page
- Schema Markup for a Local Business Page
- Schema Markup for a Service Page
- Schema Markup for a Product Page
- Schema Markup for a Course page
- Schema Markup for a Recipe Page
- Schema Markup for a Person/ About Page
- Schema Markup for a Job Posting Page
- Schema Markup for a Video Object
- Corporate Contact Markup
- Schema Markup for Book Page
- Schema Markup for Software Application Page
- Schema Markup for a FAQ Page
- Schema Markup for a How-To Page
- Schema Markup for Article Page
- FAQ Schema Type & FAQ Schema Pro Block
- FAQ Schema Pro Block for Gutenberg
- Schema Markup for a Vehicle Listing Page
- Schema Markup for a Podcast Listing Page
- Schema Markup for a Movie Carousel Page
Schema Markup for a Local Business Page
One of the best ways to promote your business locally is by bringing your presence online. Another step that you can take is to have rich snippets of your business appear on Google when people around you, and potential new customers, look for your business or service.
Not only does it boost your website’s SEO, but it also gives you more exposure to those searching for you or your business. The best way to do that is by adding schema markup by Schema Pro.
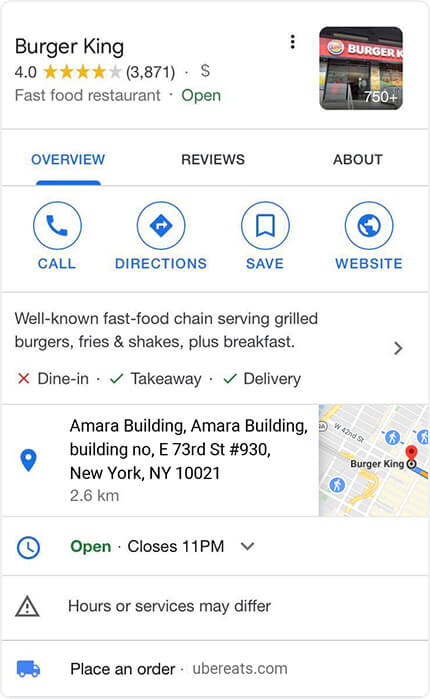
The Schema Pro plugin adds a Local Business schema markup to your local businesses listing.
Let’s see how to add a local business listing schema with these easy steps –
How to Add the Local Business Schema Markup?
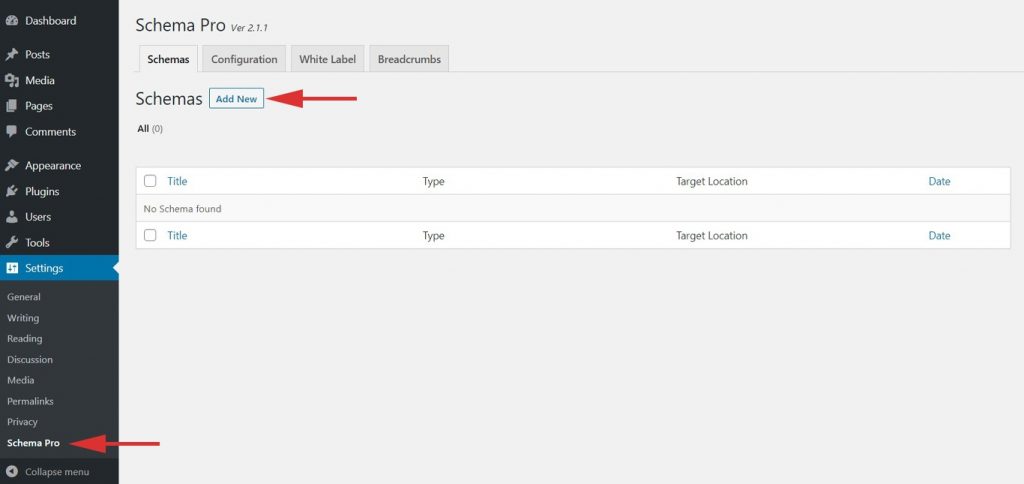
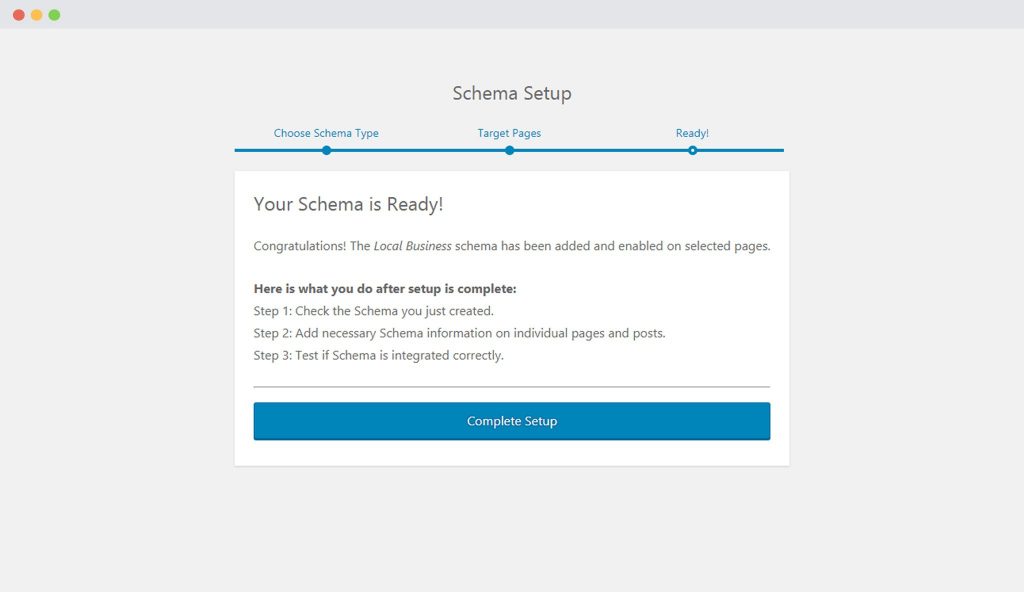
Step 1. Create a new Schema markup by going to the Schema Pro option under WordPress Dashboard > Settings > Schema Pro. Click on “Add New”.
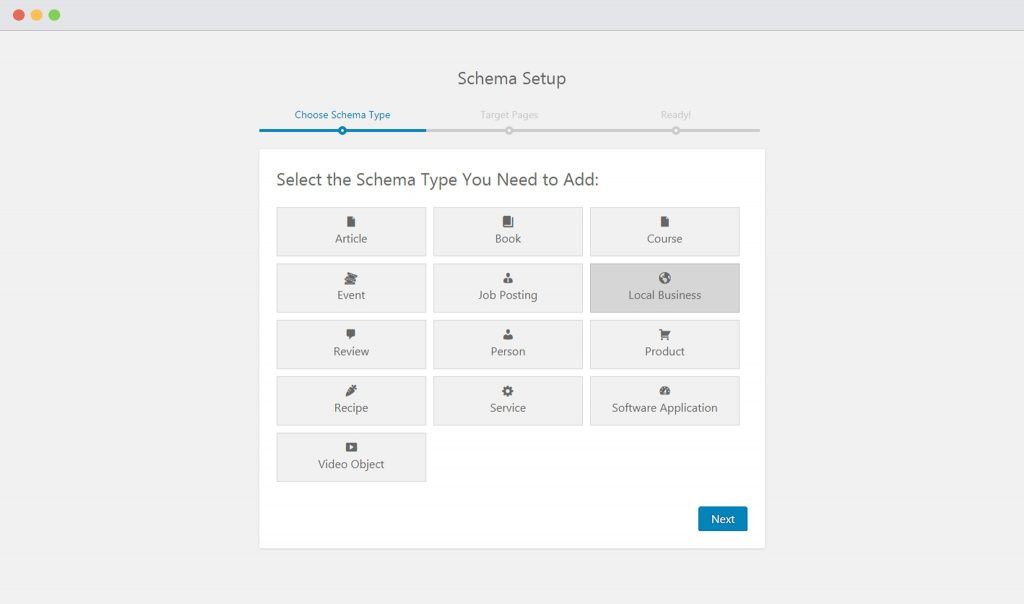
Step 2. Select the type of schema as “Local Business”.
Step 3. Select the pages/posts that you want to apply this markup to. You can add display rules and also exclude pages and posts you want to exempt this schema from.
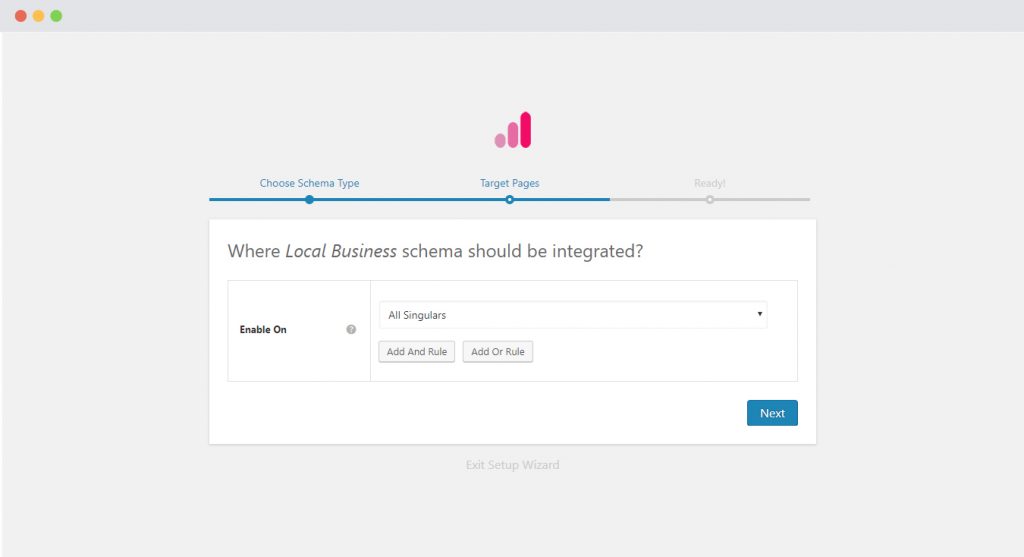
If you want to know more about how you can target specific pages and posts, check out our article on it.
Step 4. You can then complete the setup and proceed to map the required properties with fields that you already have on your website, posts, or pages. Go to the section below to learn more about what each field means.
Step 5: In Schema Settings, you will see various fields related to Local Business schema. These fields help you enter details about your local business. We recommend you make sure that all schema fields are put on the right values.
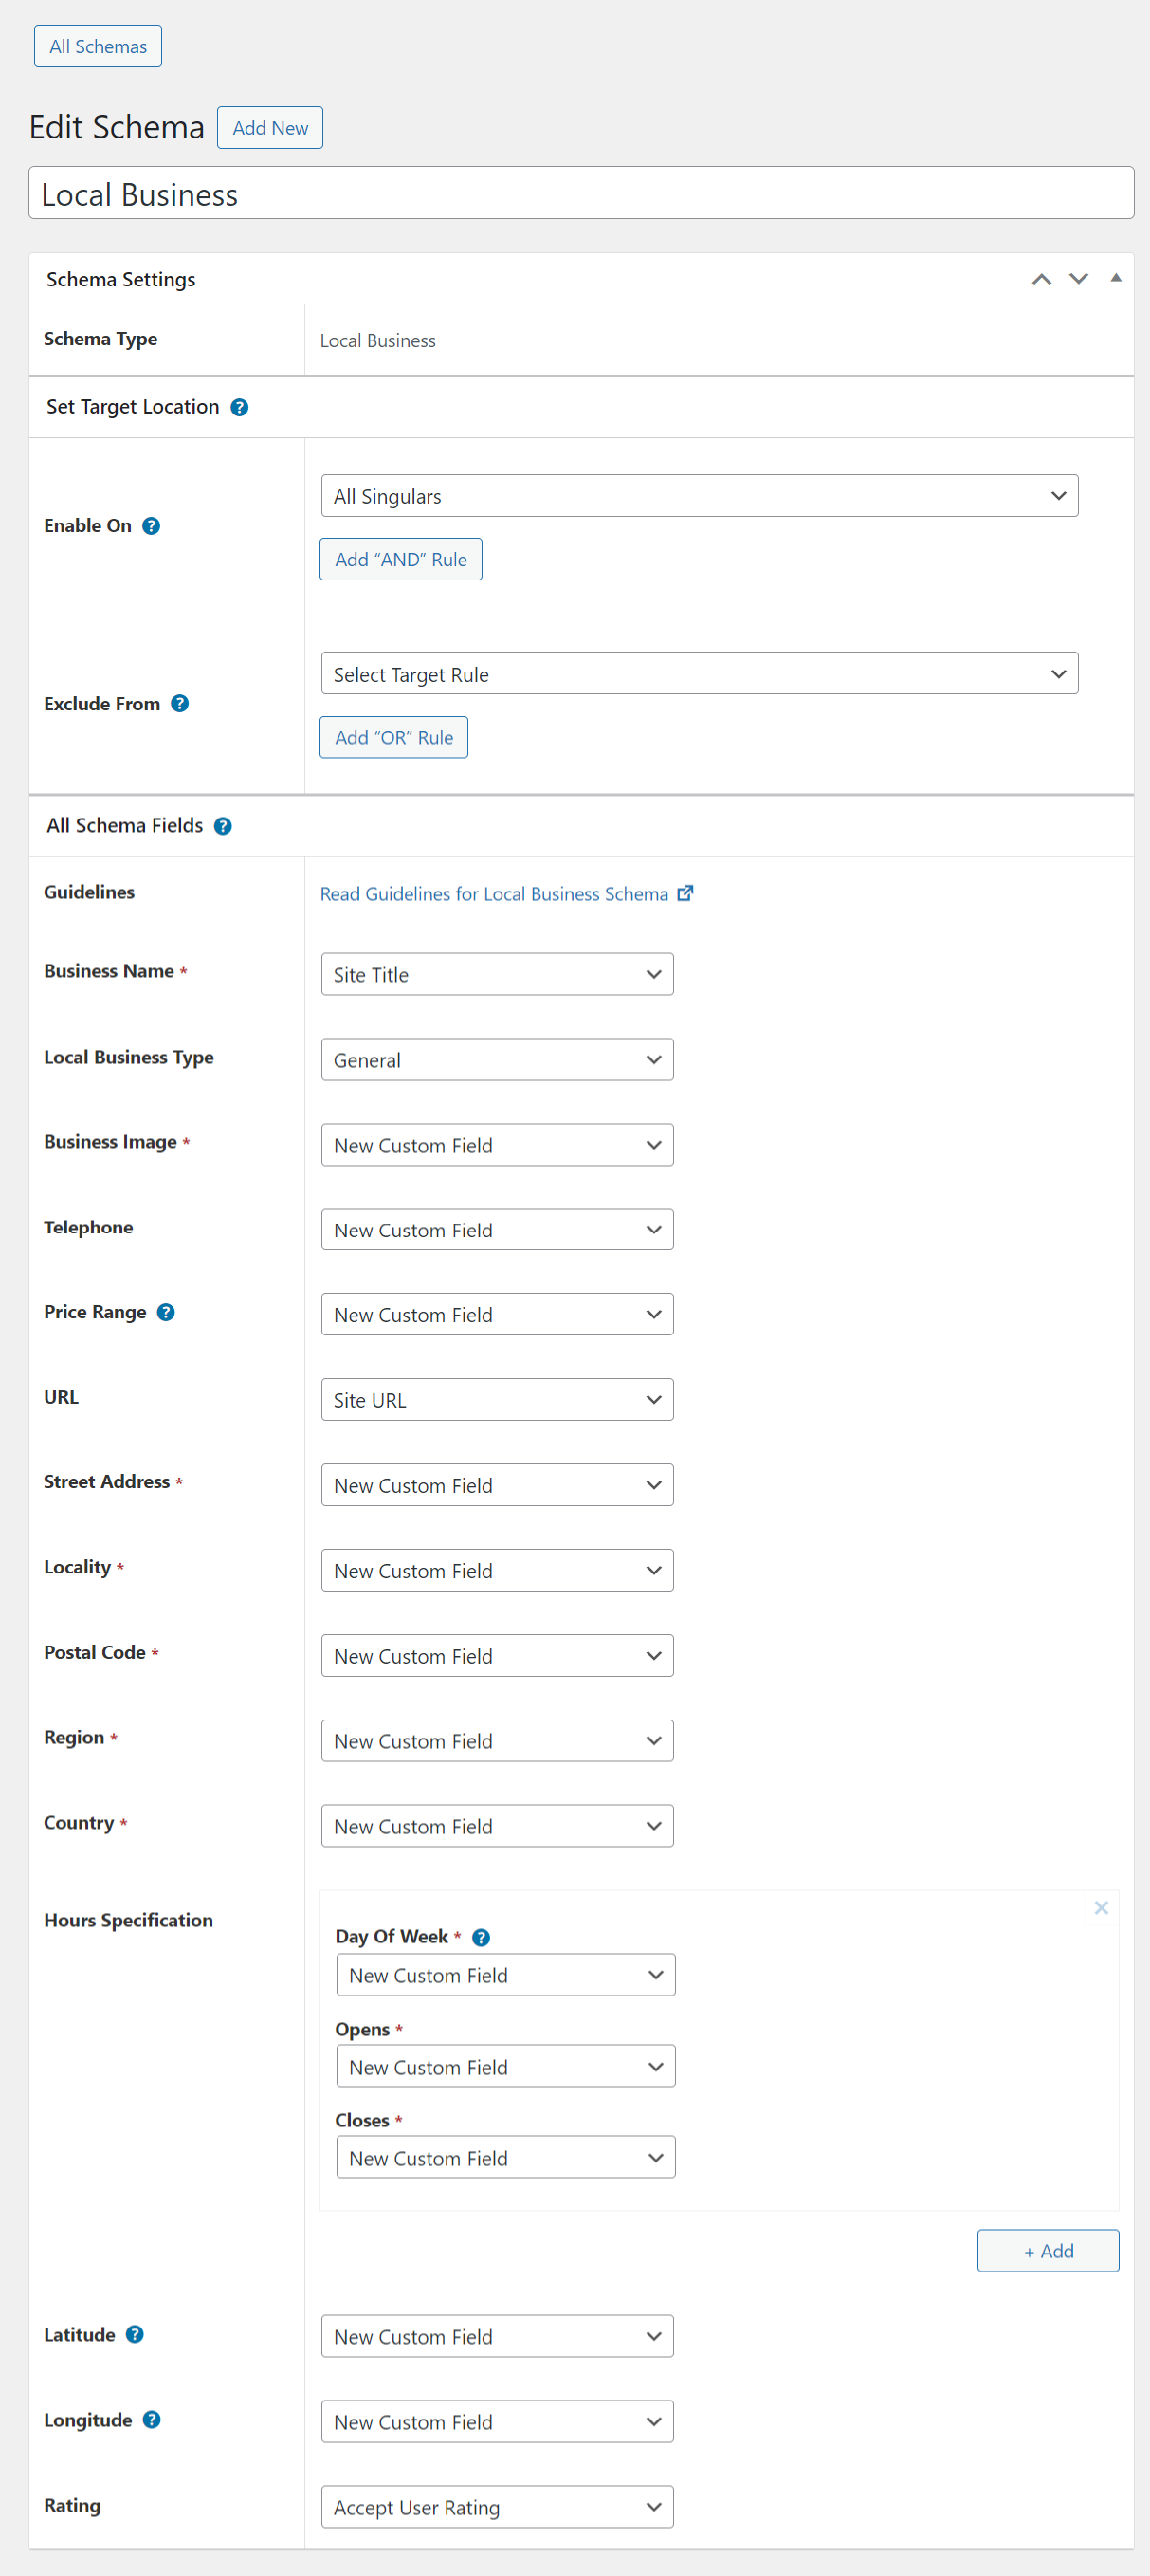
Check out the next section to understand all available fields in the Local Business schema markup.
It is always a best practice to apply Local Business Schema for a single page, that means for Home page/Contact page/About Page.
What Do These Fields Mean?
Let’s dive into what all the local business schema fields mean so that you can fill in the correct values.
In the following table –
– Asterisk sign (*) indicates required fields.
These fields are required by Google and if not filled out will result in an error on the Rich Snippets Test.
– Caret sign (^) indicates the recommended fields.
These fields are recommended to ensure maximum utilization of the SEO benefits of Schema Pro and will increase your chances of displaying Rich Snippets.
| Fields | What They Mean |
| Business Name * | This is the name of the business you are talking about. |
| Local Business Type ^ | This is the type or industry of your business. |
| Business Image * | This is an image that speaks well about your business. It can be the logo or an actual picture you want to show. |
Telephone ^ | This is the contact number you wish to display. |
| Price Range ^ | What is the average cost of your services? Additional Guidelines: This can either be a price range, e.g., $10 – $15Or it can be a set of currency symbols, e.g., $$ or $$$ |
| URL ^ | The URL of your website or a page where users can know more about you. |
| Street Address * | This is the street your business is located on. |
| Locality *^ | The locality or vicinity you serve in. |
| Postal Code *^ | The postal code of the area your business is located in. |
| Region *^ | The region your business is located in. |
| Country *^ | The country your business is located in. |
| Hours Specification ^ | Specify your working hours. You can mention the time and the days you are open or close. |
| Day Of Week * | Days of the week that the business is open |
| Opens * | Opening Hours of the business. |
| Closes * | Closing Hours of the business. |
| Rating ^ | The ratings you’ve received. |
| Latitude^ | The latitude of the business location. The precision must be at least 5 decimal places. |
| Longitude^ | The longitude of the business location. The precision must be at least 5 decimal places. |
Not sure how you can fill these fields? You can refer to this article that gives you a clear picture of the fields you see in the drop-down menu.
With Schema Pro you can also add extra or custom fields to your markup. Check out this article to find out how.
Configure Schema on a Single Page/Post
Once you fill the above schema fields, the values will be applied to all target locations. These values are common for all target locations.
But in case you wish to alter these values for a particular page/post, you can also find all the schema fields on each of the targeted pages/posts.
If you visit a single page/post you can see all Local Business schema fields at the bottom.
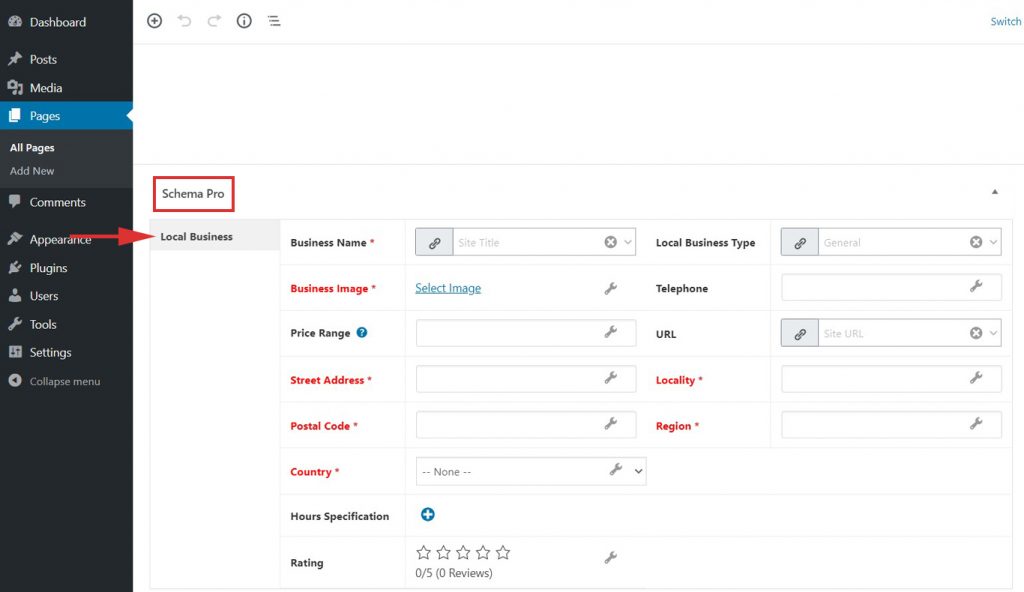
By default, all fields will fetch values from schema under Settings > Schema Pro > Local Business but you can also change this and choose other values from the list or set the values manually.
You might see some of the fields marked in red, these are required fields in the schema that do not have any value. Skipping these fields will add invalid schema markup to the code.
Read this article here to learn more about the page-level schema configuration.
Test Your Schema
Once you are done with adding schema markup, test it to see if it sets well.
Testing can be done with just a single click with the “Test Schema” button on the admin bar. Here is an article that will show you how you can test your schema.
OR
You can manually visit the Rich Results Test tool and insert your content.
Once you’re done, you’re all set to see your local business listing attracting more applications through the search engine’s rich snippets!
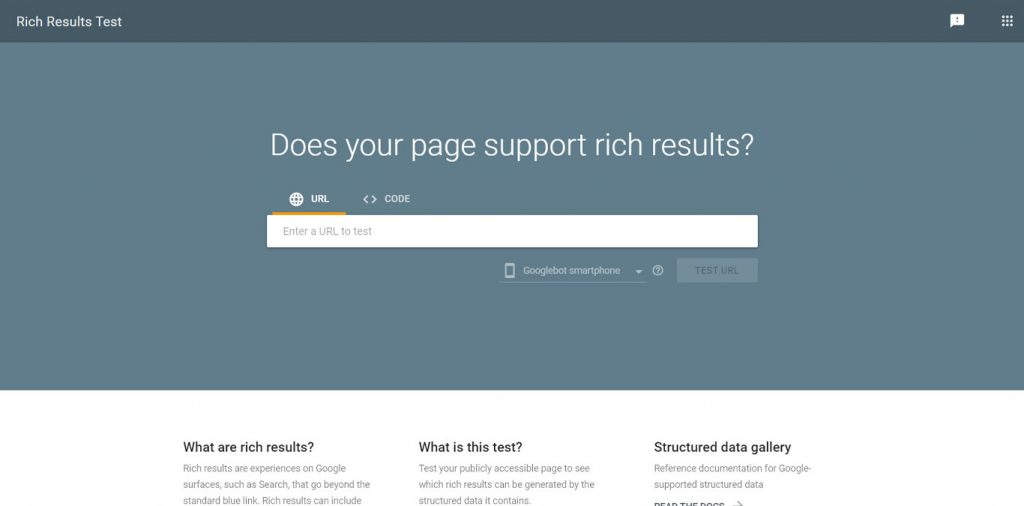
Once you’re done, you’re all set to see your local business attracting more visitors through the search engine’s rich snippets!
How to Handle Errors & Warnings in a Testing Tool?
When you test your page/post with the Rich Results Test tool you might see some errors and warnings come up. Refer the article to see detailed steps to easily fix errors and warnings.
Setting up other schema types? Check them out below.
We don't respond to the article feedback, we use it to improve our support content.