- Add an Extra Field for a Schema Type
- Enable/Disable Schema Markup
- Add Ratings Using Shortcode
- Disable a Specific Schema Markup
- Add Schema Markup on Subcategories
- Disable the White Label Settings
- Disable Corporate Contact Schema
- Remove Home List Item from Breadcrumblist Schema
- Remove Shop Item Link on Product Page
- Test a Schema Snippet
- Mapping Your Schema Fields
- Add an Extra Field for a Schema Type
- How to Use the Schema Pro plugin?
- All-in-one Schema Pro plugin
- Map Required fields with Custom Fields
- Create a Custom Fields
- Target Specific Areas of the Website
- Enable/Disable Schema Markup
- Add Ratings Using Shortcode
- How to Add a Schema markup for an Article on your website?
- Difference Between the Free and Pro Plugin?
- How to map fields with custom fields from third party plugins?
- Accept User Ratings from Users
- Update Schema Pro
- Register Your Copy of Schema Pro
- Organization Type in the Setup Wizard
- Schema Pro Setup Wizard
- Getting Started With Schema Pro
- How To Install Schema Pro Plugin
- Schema Markup for an Event page
- Schema Markup for a Review page
- Schema Markup for a Local Business Page
- Schema Markup for a Service Page
- Schema Markup for a Product Page
- Schema Markup for a Course page
- Schema Markup for a Recipe Page
- Schema Markup for a Person/ About Page
- Schema Markup for a Job Posting Page
- Schema Markup for a Video Object
Schema Pro Setup Wizard
Schema Pro offers a quick and simple setup wizard. It helps you set a website type and other basic information so that Google understands your site better.
This article explains all settings provided in setup wizard.
Initiate Setup Wizard
Once you activate the Schema Pro plugin you can see a notice appearing at the top in the admin area. This provides a quick link that takes you directly to the setup wizard.
In case you close this notice (accidentally or intentionally), you can always find an option to initiate setup wizard from Schema Pro settings.
Visit Settings > Schema Pro > Website Information. Here in the right sidebar you can see option for setup wizard.
Note
Setup wizard settings are also available under the Website Information tab. While this tab contains an extra section of Contact Information. So in case, you exit setup wizard, you can find settings under Website Information.
Setup Wizard Settings
Once you initiate the setup wizard you can see five screens out of which three requires you to fill basic website information. Below are the screens –
- Welcome – Initial screen of the wizard that gives a quick idea about Schema Pro and setup wizard.
- General – Here you can choose your website type and set website name & logo.
- Social Profiles – This gives you the option to enter your business’s social profile links.
- Other Schemas – This offers a few advanced options that can benefit your website.
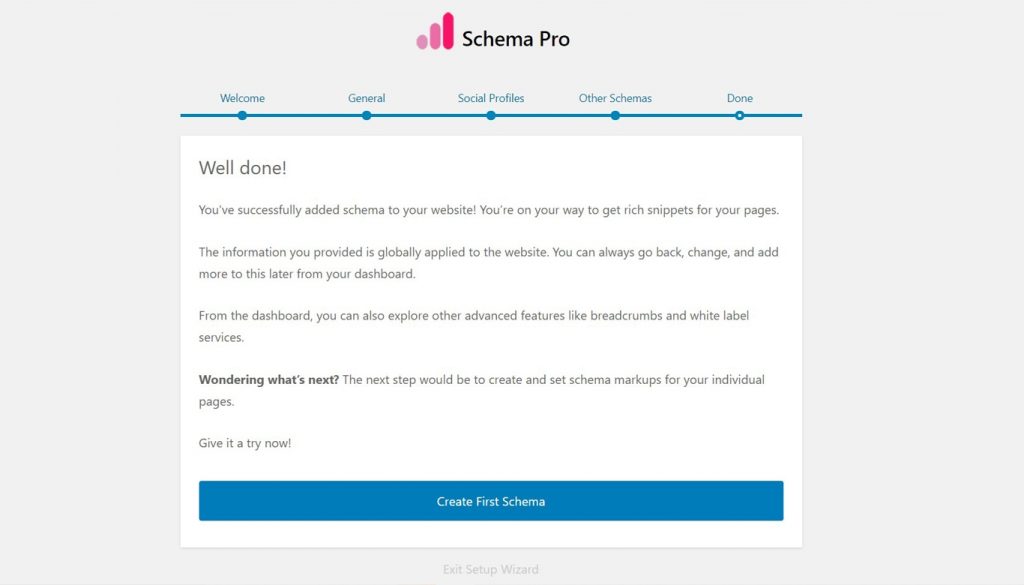
- Done – From here you can proceed to create first schema type or exit the setup wizard to go back to the dashboard.
Lets see middle these screens in detail –
General
Here you can select an appropriate type for the website, set a name and logo.
1. This Website Represents – This option lets you choose the category your website fits in. Although you can see several categories, they can add only 2 types of schema – Person or Organization.
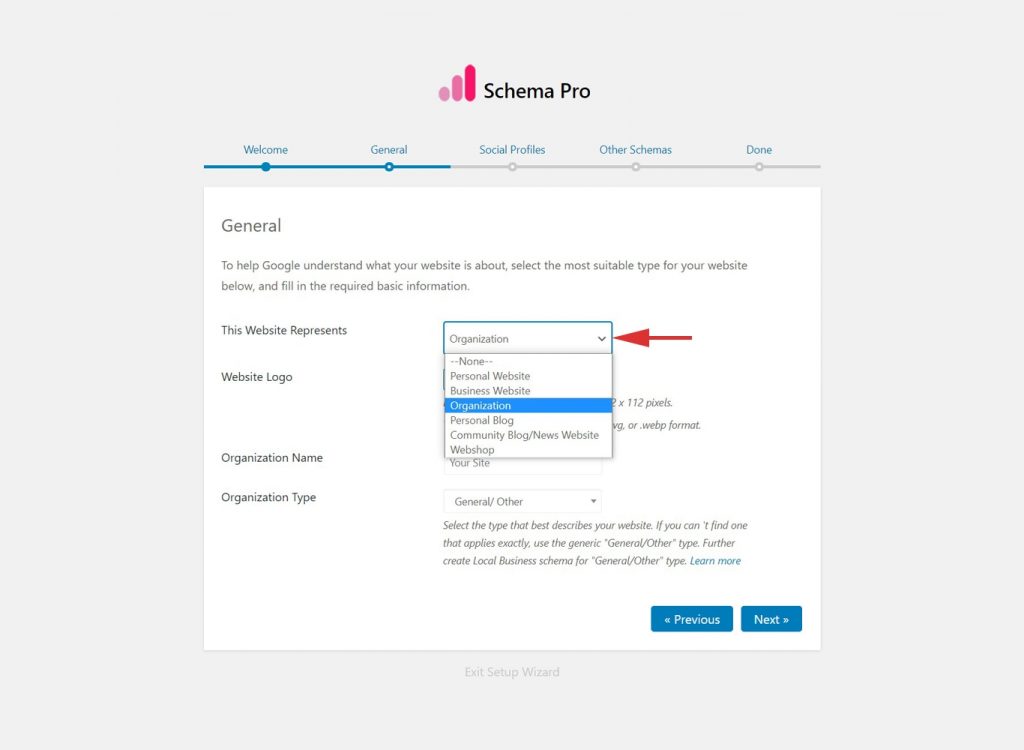
- Personal Website (Adds Person Schema) – Any website that represents a business handled by a single owner can come under this category.
- Business Website (Adds Organization Schema) – Any website that represents a business handled by a group of people or a company can come under this category.
- Organization (Adds Organization Schema) – Organization whose primary goal is not a business, can come under this option. Like NGOs, Government organizations, etc.
- Personal Blog (Adds Person Schema) – A blog site maintained by a single blogger. Like fashion blogs, food blogs, etc.
- Community Blog/News Website (Adds Organization Schema) – A blog site that can also publish news and is maintained by a company.
- Webshop (Adds Organization Schema) – Website for an ecommerce store.
2. Website Logo – This is logo for your website that can display in Google knowledge panel.
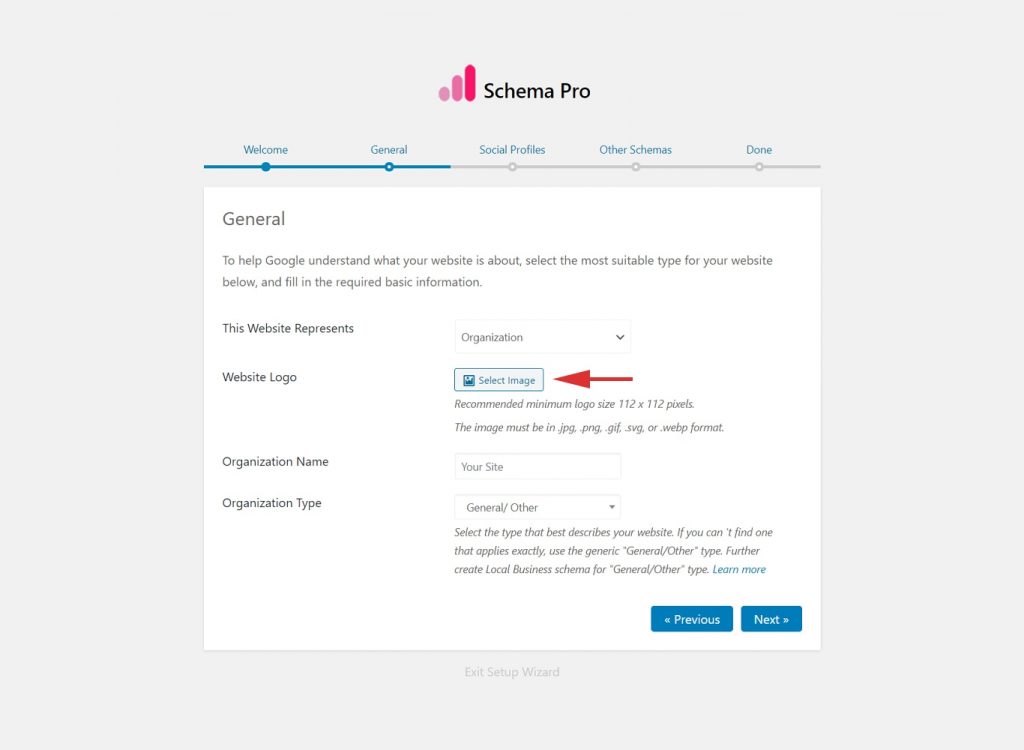
- By default, the logo will be fetched from your customizer where you might have set a logo with the theme.
- In case you don’t have it set in the customizer or wish to set a custom one in the schema, you can add it with the Website Logo option.
- Recommended minimum logo size 112 x 112 pixels.
- The image must be in .jpg, .png, .gif, .svg, or .webp format.
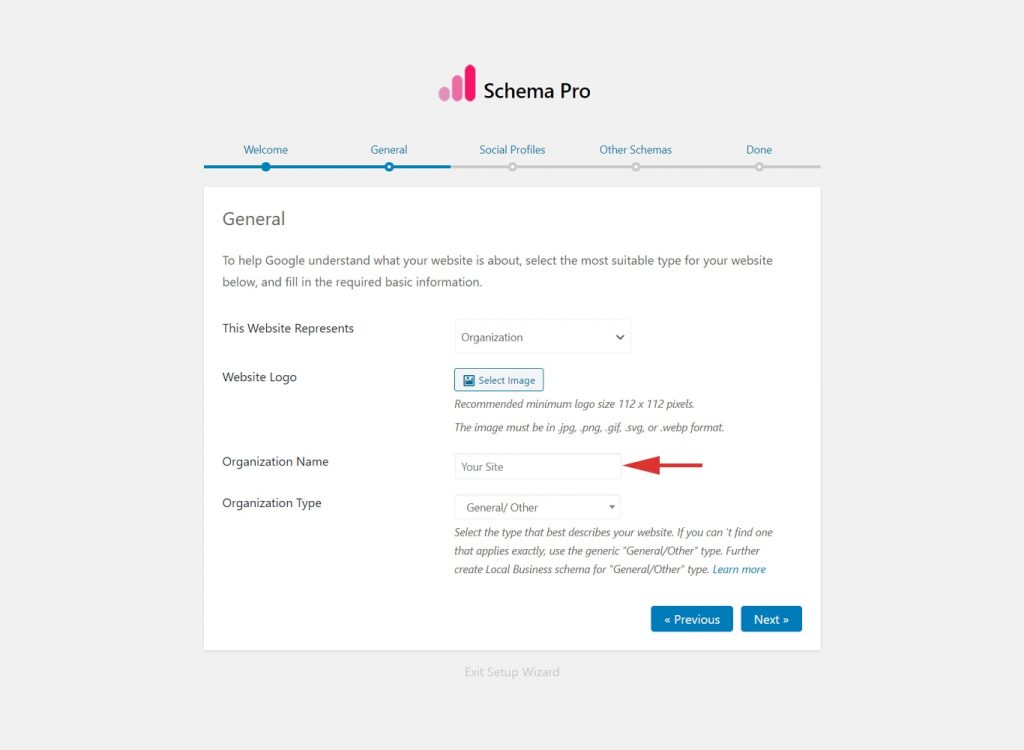
3. Website Name (For Organization) / Website Owner Name (For Person) -Set a name for your website. By default, it will fetch the website name from the customizer, while you can add the custom name as well.
4. Organization Type – In option ‘This Website Represents’ when you select category that adds Organization Schema you will see this additional setting appearing on screen.
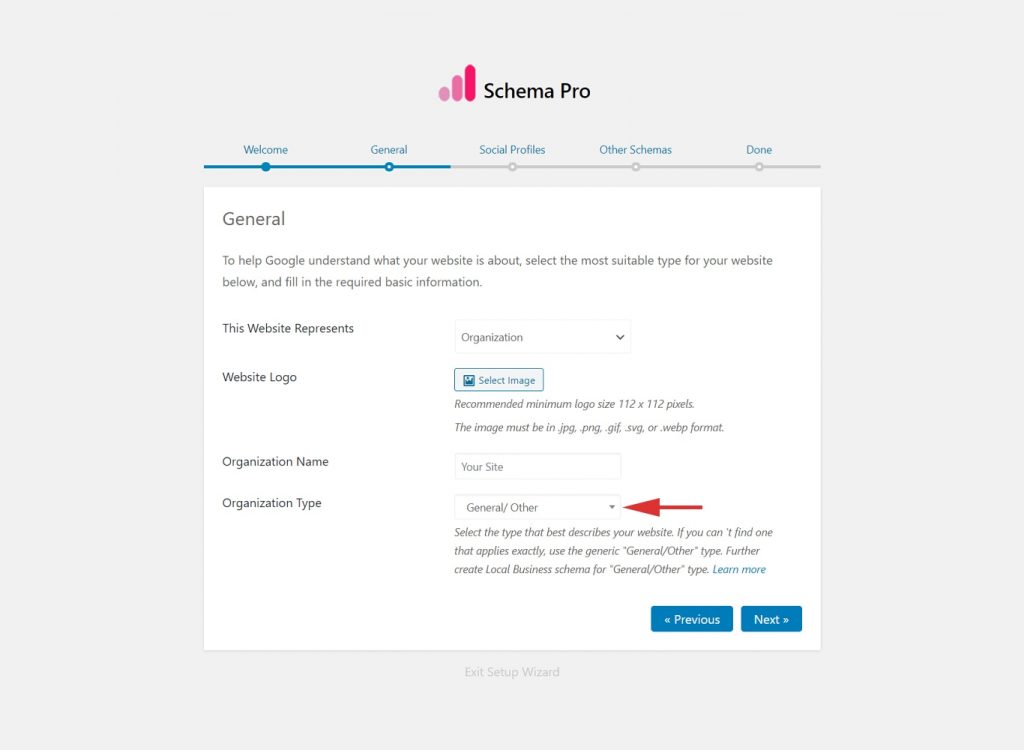
This allows you to select more specific type of your website. In case you can’t find a type that applies exactly to your website, select generic “General/Other” type.
Further you can create Local Business schema that offers you more options for website type. Read article that can help you adding Local Business schema.
Social Profiles
Here you can enter all your possible social media profile links. These links can appear in the knowledge panel of the search results for your website.
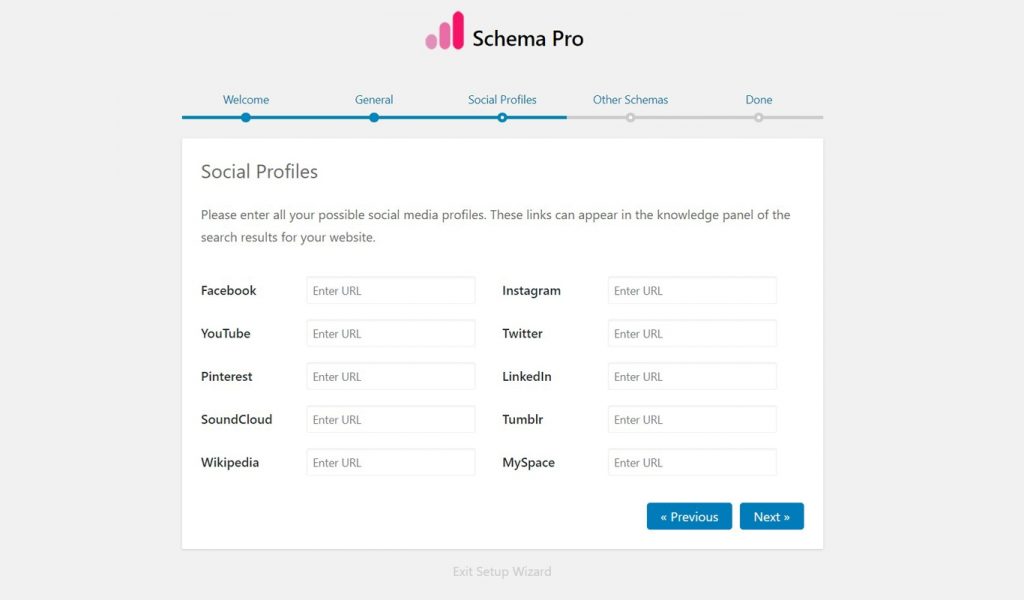
Note that filling all links is not compulsory. But we recommend filling maximum possible links.
- YouTube
- SoundCloud
- Tumblr
- Wikipedia
- MySpace
If you have a social media link other than listed above, you can add it with ‘other’ option.
This will be available under Schema Pro > Website Information > Social Profiles > Others.
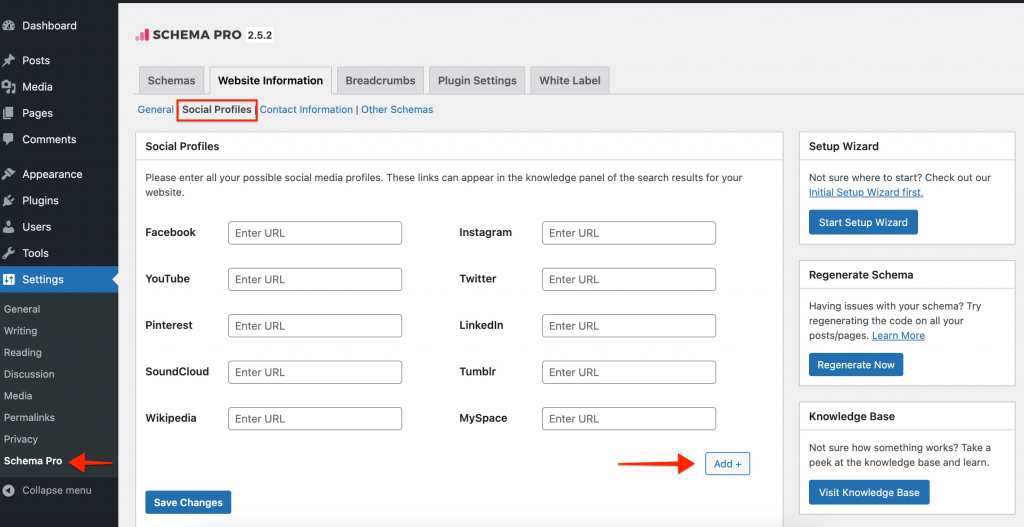
Just click on the ‘Add’ button and paste your link. You can add as many links as you want by clicking on this button.
Other Schemas
This is additional information about your website that make sure that search engines fully understand what it’s about. This will help improve your SEO further.
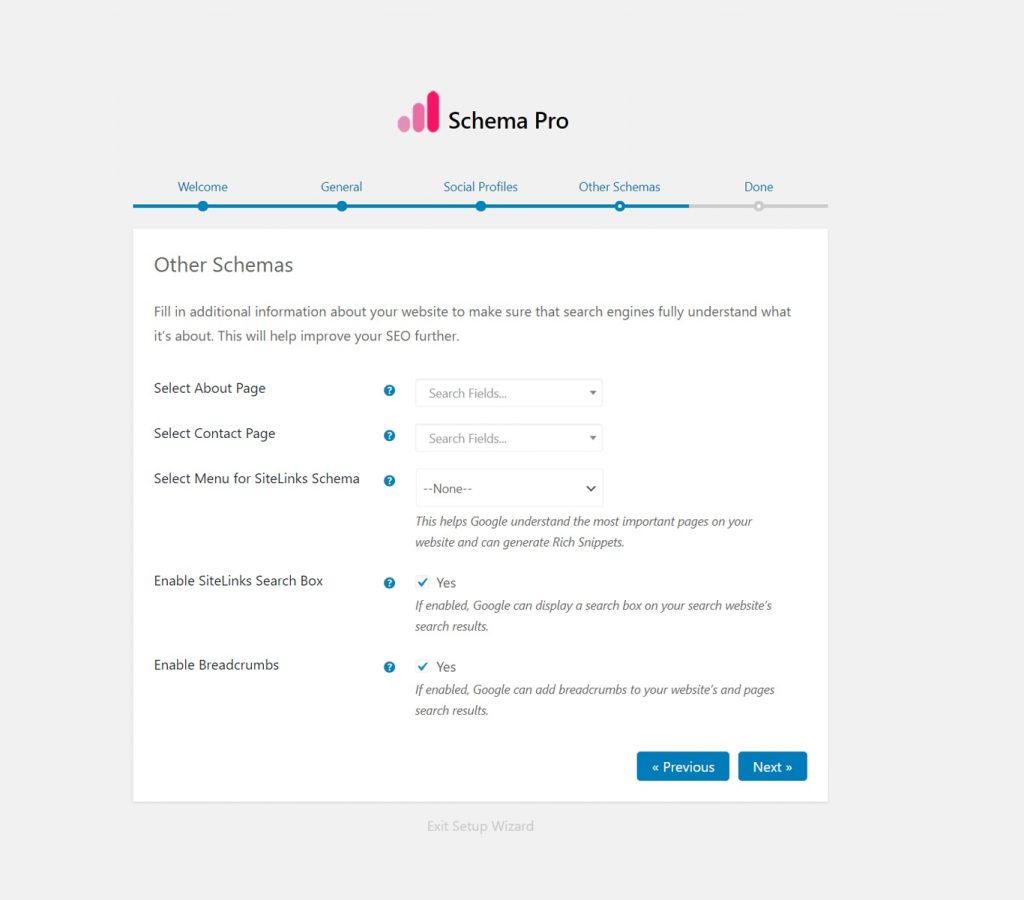
1. Select About Page – Select your website’s about page here. AboutPage schema will be added to the selected page. This schema will inform Google that the selected page is about page for the website.
2. Select Contact Page – Select your website’s contact page here. ContactPage schema will be added to the selected page. This schema will inform Google that the selected page is the contact page for the website.
3. Select Menu for SiteLinks Schema – This helps Google understand the most important pages on your website and can generate Rich Snippets. Select your primary menu or other menu if required.
4. Enable SiteLinks Search Box – If enabled, Google can display a search box on your search website’s search results.
5. Enable Breadcrumbs – If enabled, Google can add breadcrumbs to your website’s and pages search results. You can configure it further from Schema Pro dashboard settings with a dedicated tab.
Done
This is the last screen in the setup wizard. From here you can proceed with creating your first schema type. Click on the button and proceed with selecting required schema type. Set target pages for schema and complete the process.
Here is a list of articles for individual schema types. You can refer a required article and see all details about it.
In case you want to visit the dashboard you can exit the setup wizard. You can always initiate the setup wizard from the dashboard under Website Information > Right Sidebar setting.
We don't respond to the article feedback, we use it to improve our support content.