- Add an Extra Field for a Schema Type
- Enable/Disable Schema Markup
- Add Ratings Using Shortcode
- Disable a Specific Schema Markup
- Add Schema Markup on Subcategories
- Disable the White Label Settings
- Disable Corporate Contact Schema
- Remove Home List Item from Breadcrumblist Schema
- Remove Shop Item Link on Product Page
- Test a Schema Snippet
- Mapping Your Schema Fields
- Add an Extra Field for a Schema Type
- How to Use the Schema Pro plugin?
- All-in-one Schema Pro plugin
- Map Required fields with Custom Fields
- Create a Custom Fields
- Target Specific Areas of the Website
- Enable/Disable Schema Markup
- Add Ratings Using Shortcode
- How to Add a Schema markup for an Article on your website?
- Difference Between the Free and Pro Plugin?
- How to map fields with custom fields from third party plugins?
- Accept User Ratings from Users
- Update Schema Pro
- Register Your Copy of Schema Pro
- Organization Type in the Setup Wizard
- Schema Pro Setup Wizard
- Getting Started With Schema Pro
- How To Install Schema Pro Plugin
- Schema Markup for an Event page
- Schema Markup for a Review page
- Schema Markup for a Local Business Page
- Schema Markup for a Service Page
- Schema Markup for a Product Page
- Schema Markup for a Course page
- Schema Markup for a Recipe Page
- Schema Markup for a Person/ About Page
- Schema Markup for a Job Posting Page
- Schema Markup for a Video Object
Configure Schema Pro with Setup Wizard
Installing and activating Schema Pro plugin will display a small notice to configure plugin –
In case you skip to follow this notice, you can run a setup wizard from Settings > Schema Pro > Configurations
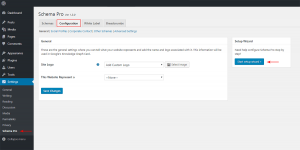
Note: The setup wizard will add fields in the organization schema. This information will be displayed by Google in the knowledge card, like –
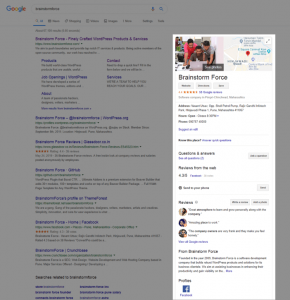
Below are the steps –
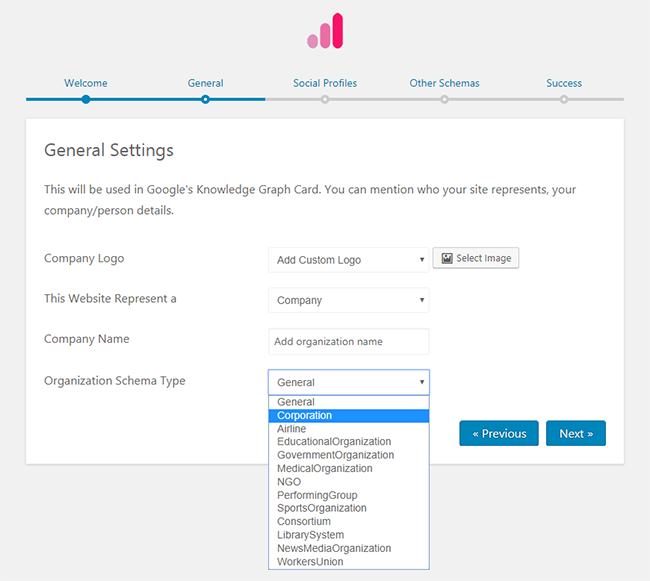
Step 1: General
Add a logo for your company and fill other details.
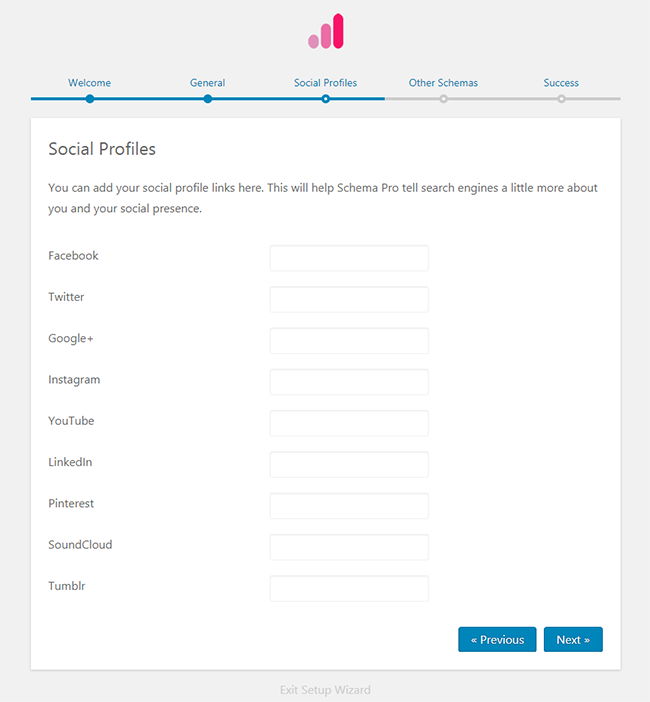
Step 2: Social Profiles
Add links to all social profiles you have for your business.
Step 3: Other Schemas
- The plugin will apply global schema for about and contact pages. You just need to select respective pages from the list.
- The menu ( for SiteLinks Schema) selected will be used to show website structure in search results like –
- Breadcrumb Schema will be enabled by default. See how you can configure it from here. When breadcrumbs are enabled they will appear in search results like
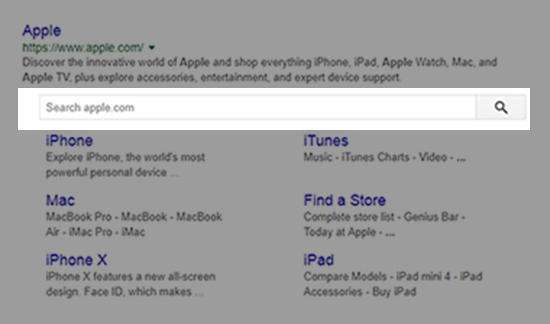
- Sitelinks Search Box will allow the searching thing easily like –
And you are Done!
You can create a schema with further steps. Read about schema types here.
We don't respond to the article feedback, we use it to improve our support content.

