- Add an Extra Field for a Schema Type
- Enable/Disable Schema Markup
- Add Ratings Using Shortcode
- Disable a Specific Schema Markup
- Add Schema Markup on Subcategories
- Disable the White Label Settings
- Disable Corporate Contact Schema
- Remove Home List Item from Breadcrumblist Schema
- Remove Shop Item Link on Product Page
- What is the future of Schema Pro now that SureRank has launched?
- How to Use Schema Pro with SureRank
- Test a Schema Snippet
- Mapping Your Schema Fields
- Add an Extra Field for a Schema Type
- How to Use the Schema Pro plugin?
- All-in-one Schema Pro plugin
- Map Required fields with Custom Fields
- Create a Custom Fields
- Target Specific Areas of the Website
- How to Add a Schema markup for an Article on your website?
- Difference Between the Free and Pro Plugin?
- How to map fields with custom fields from third party plugins?
- Accept User Ratings from Users
- Update Schema Pro
- Register Your Copy of Schema Pro
- Organization Type in the Setup Wizard
- Schema Pro Setup Wizard
- Getting Started With Schema Pro
- How To Install Schema Pro Plugin
- Schema Markup for an Event page
- Schema Markup for a Review page
- Schema Markup for a Local Business Page
- Schema Markup for a Service Page
- Schema Markup for a Product Page
- Schema Markup for a Course page
- Schema Markup for a Recipe Page
- Schema Markup for a Person/ About Page
- Schema Markup for a Job Posting Page
- Schema Markup for a Video Object
How to Add a Schema markup for an Article on your website?
Do you have a number of articles published on your website? You can add a schema markup to highlight them in search engine results too!
Schema Pro has an article schema type that allows you to add schema markups to pages like these. Let us see how this can be done using Schema Pro.
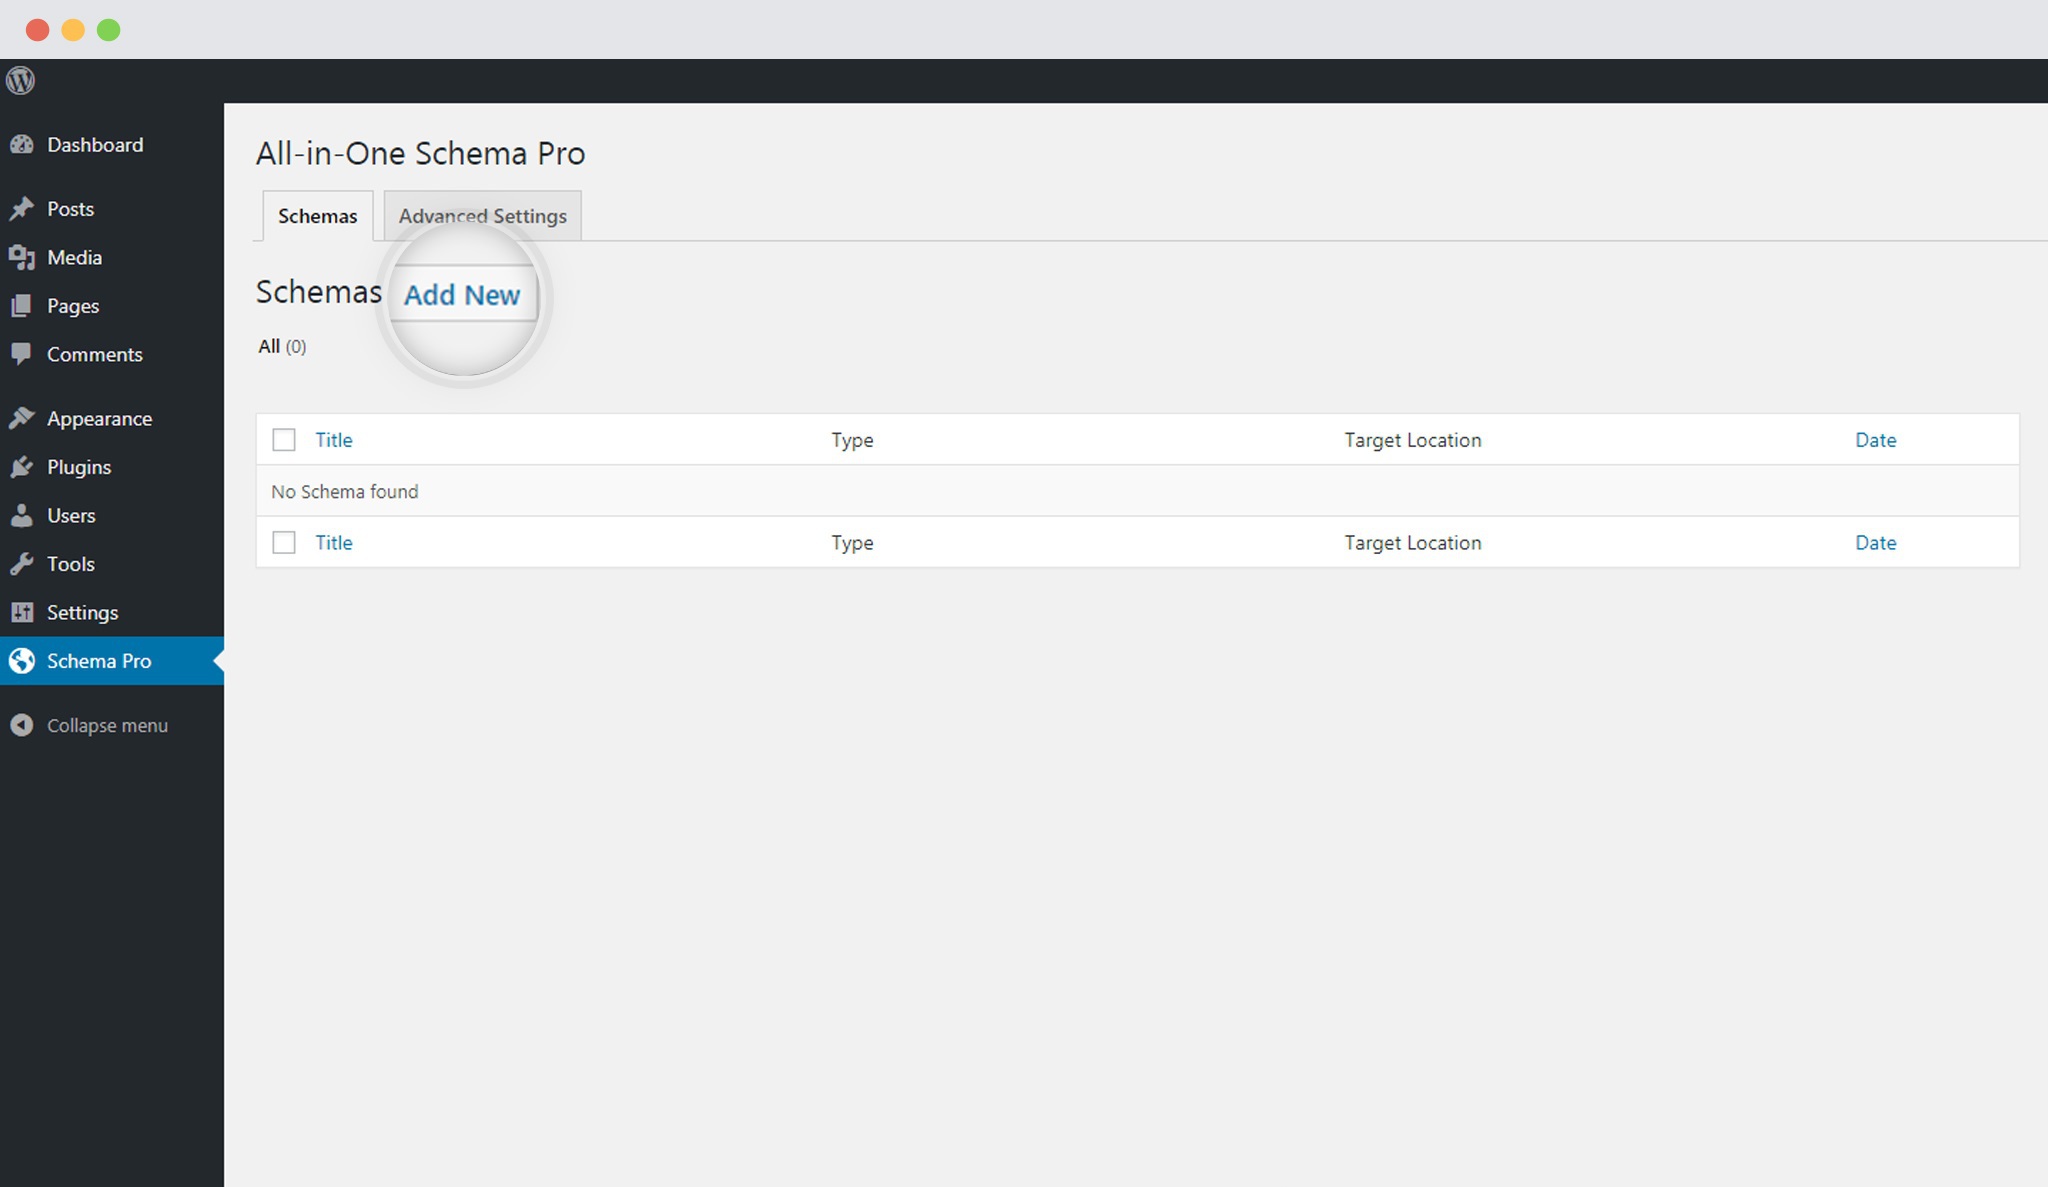
1. Create a new Schema markup by going to Schemas tab in the Schema Pro interface in WordPress dashboard. Click on Add New.
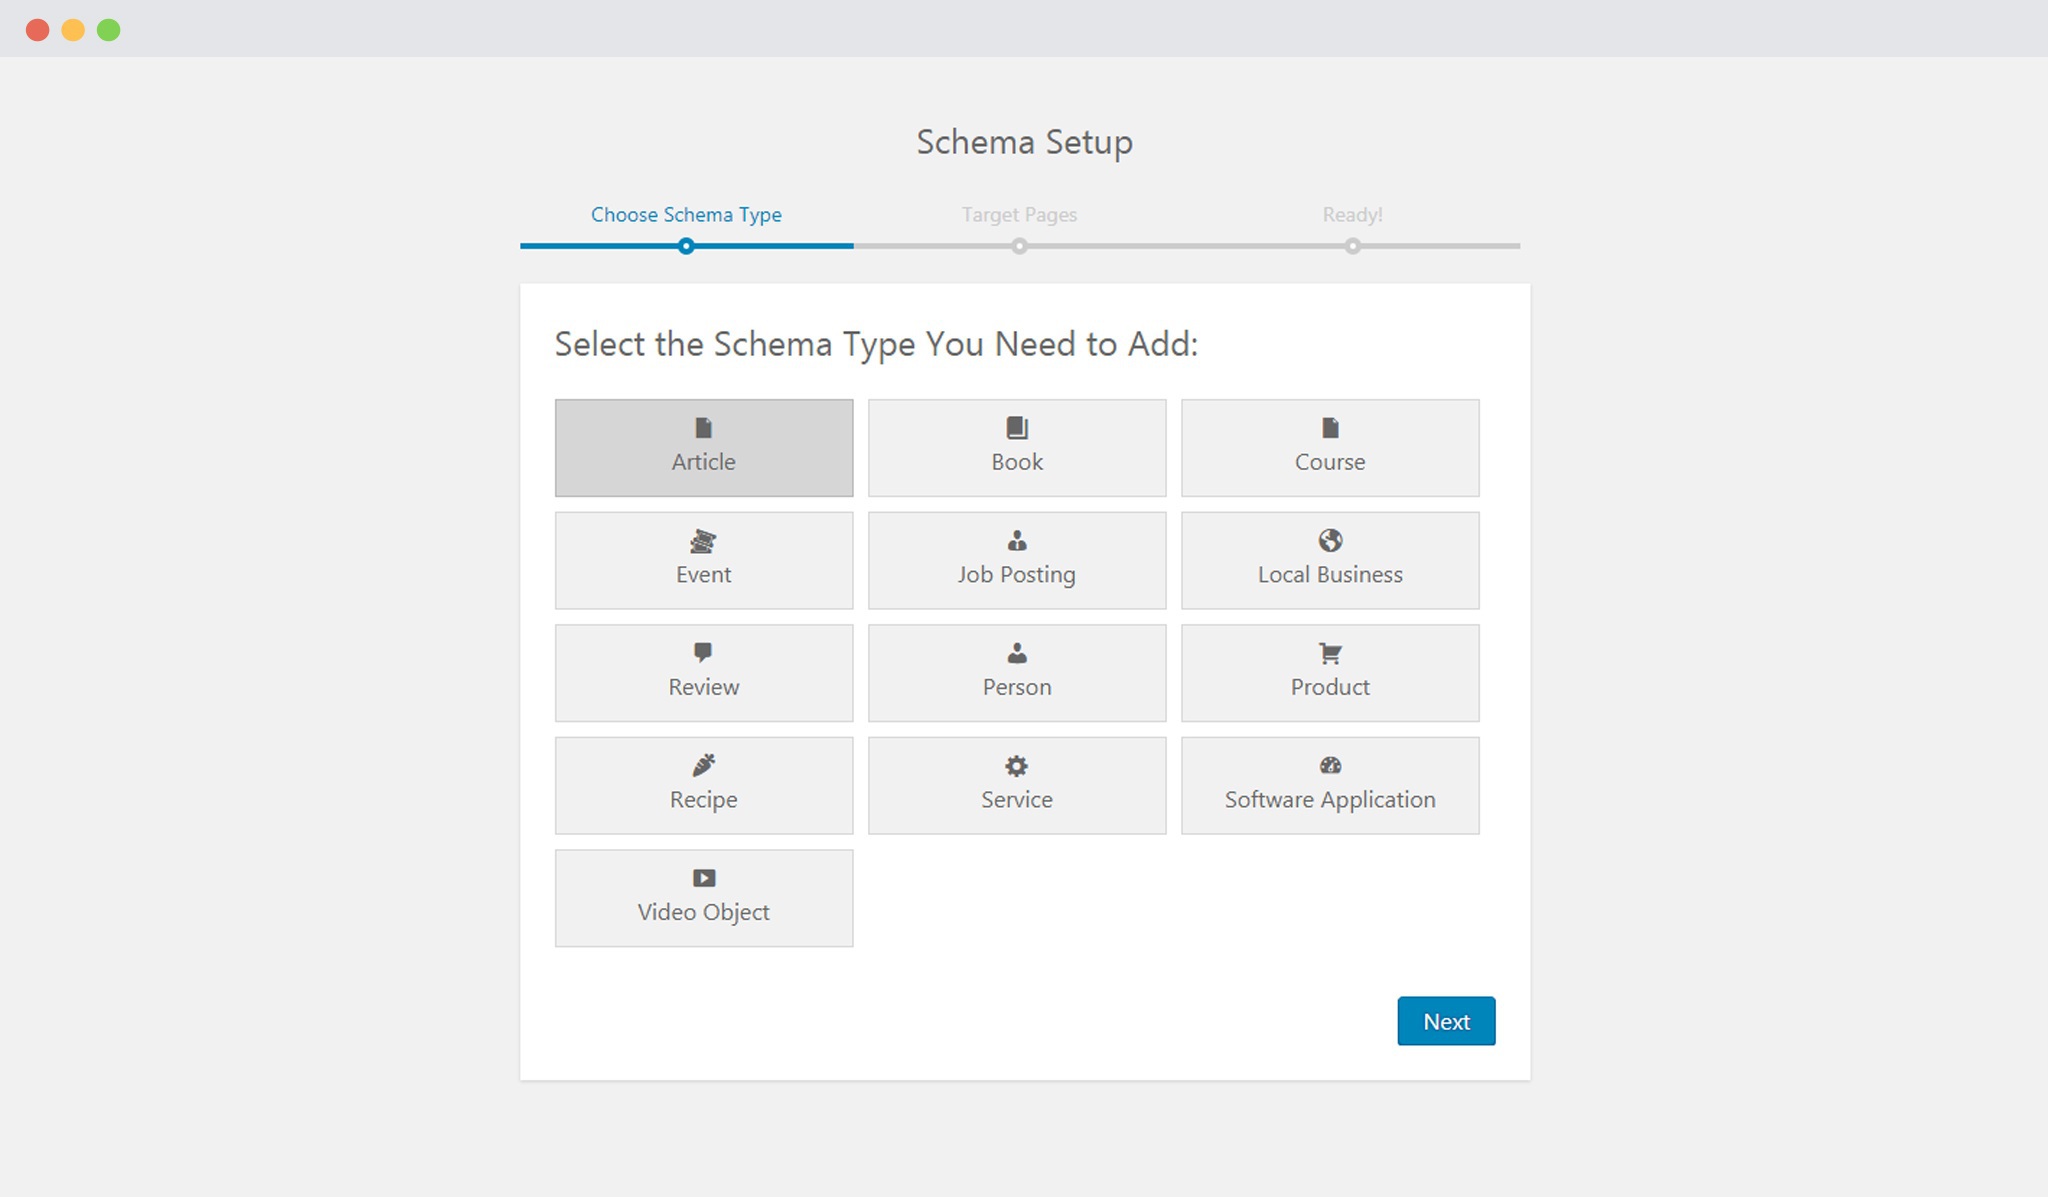
2. Select the type of schema as Article.
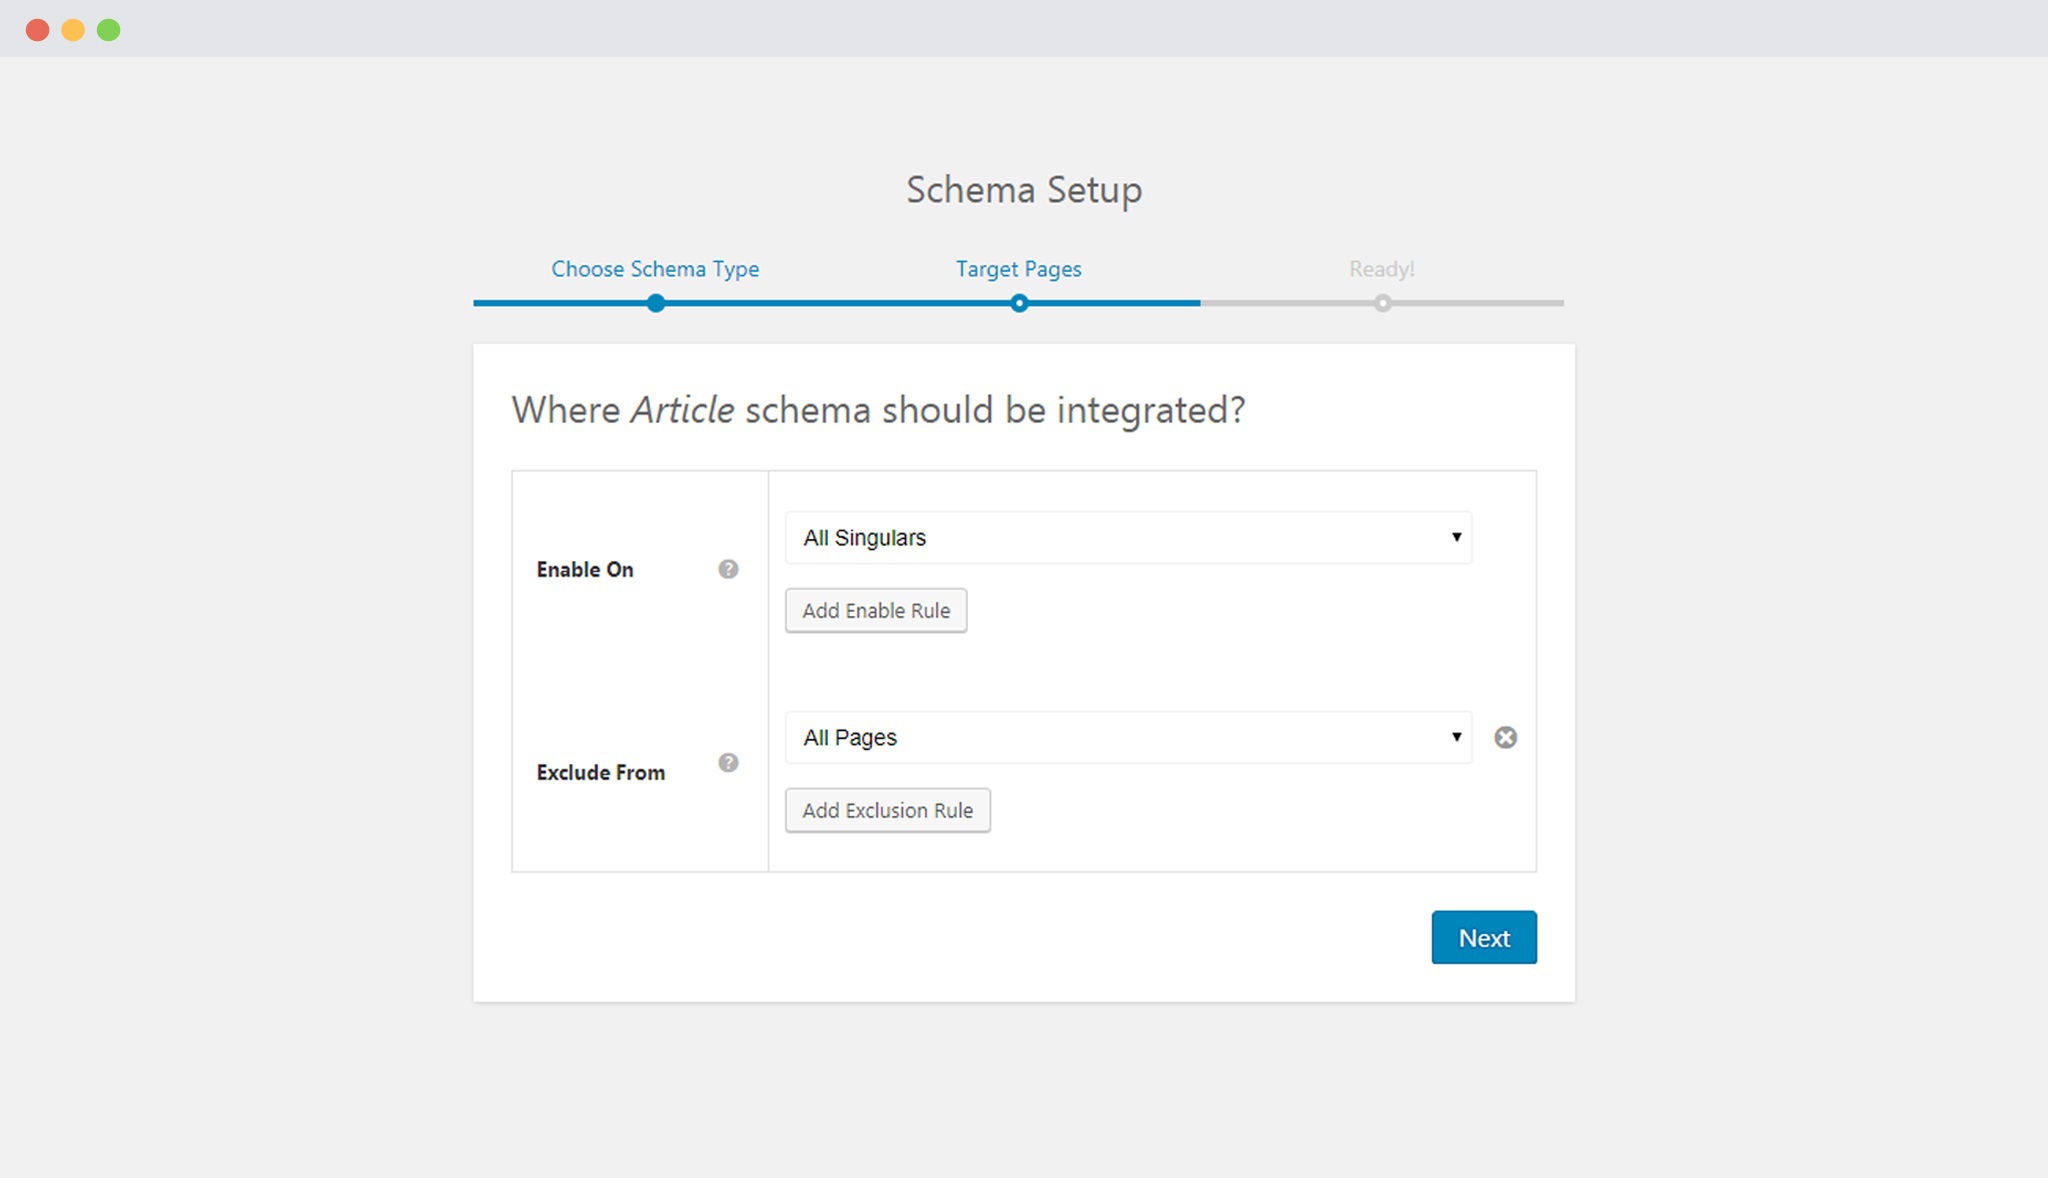
3. Select pages / posts you wish to use this for. You can add display rules and also exclude pages and posts you want to exempt this schema on.
You can refer to an article to know more about how you can target specific pages and posts.
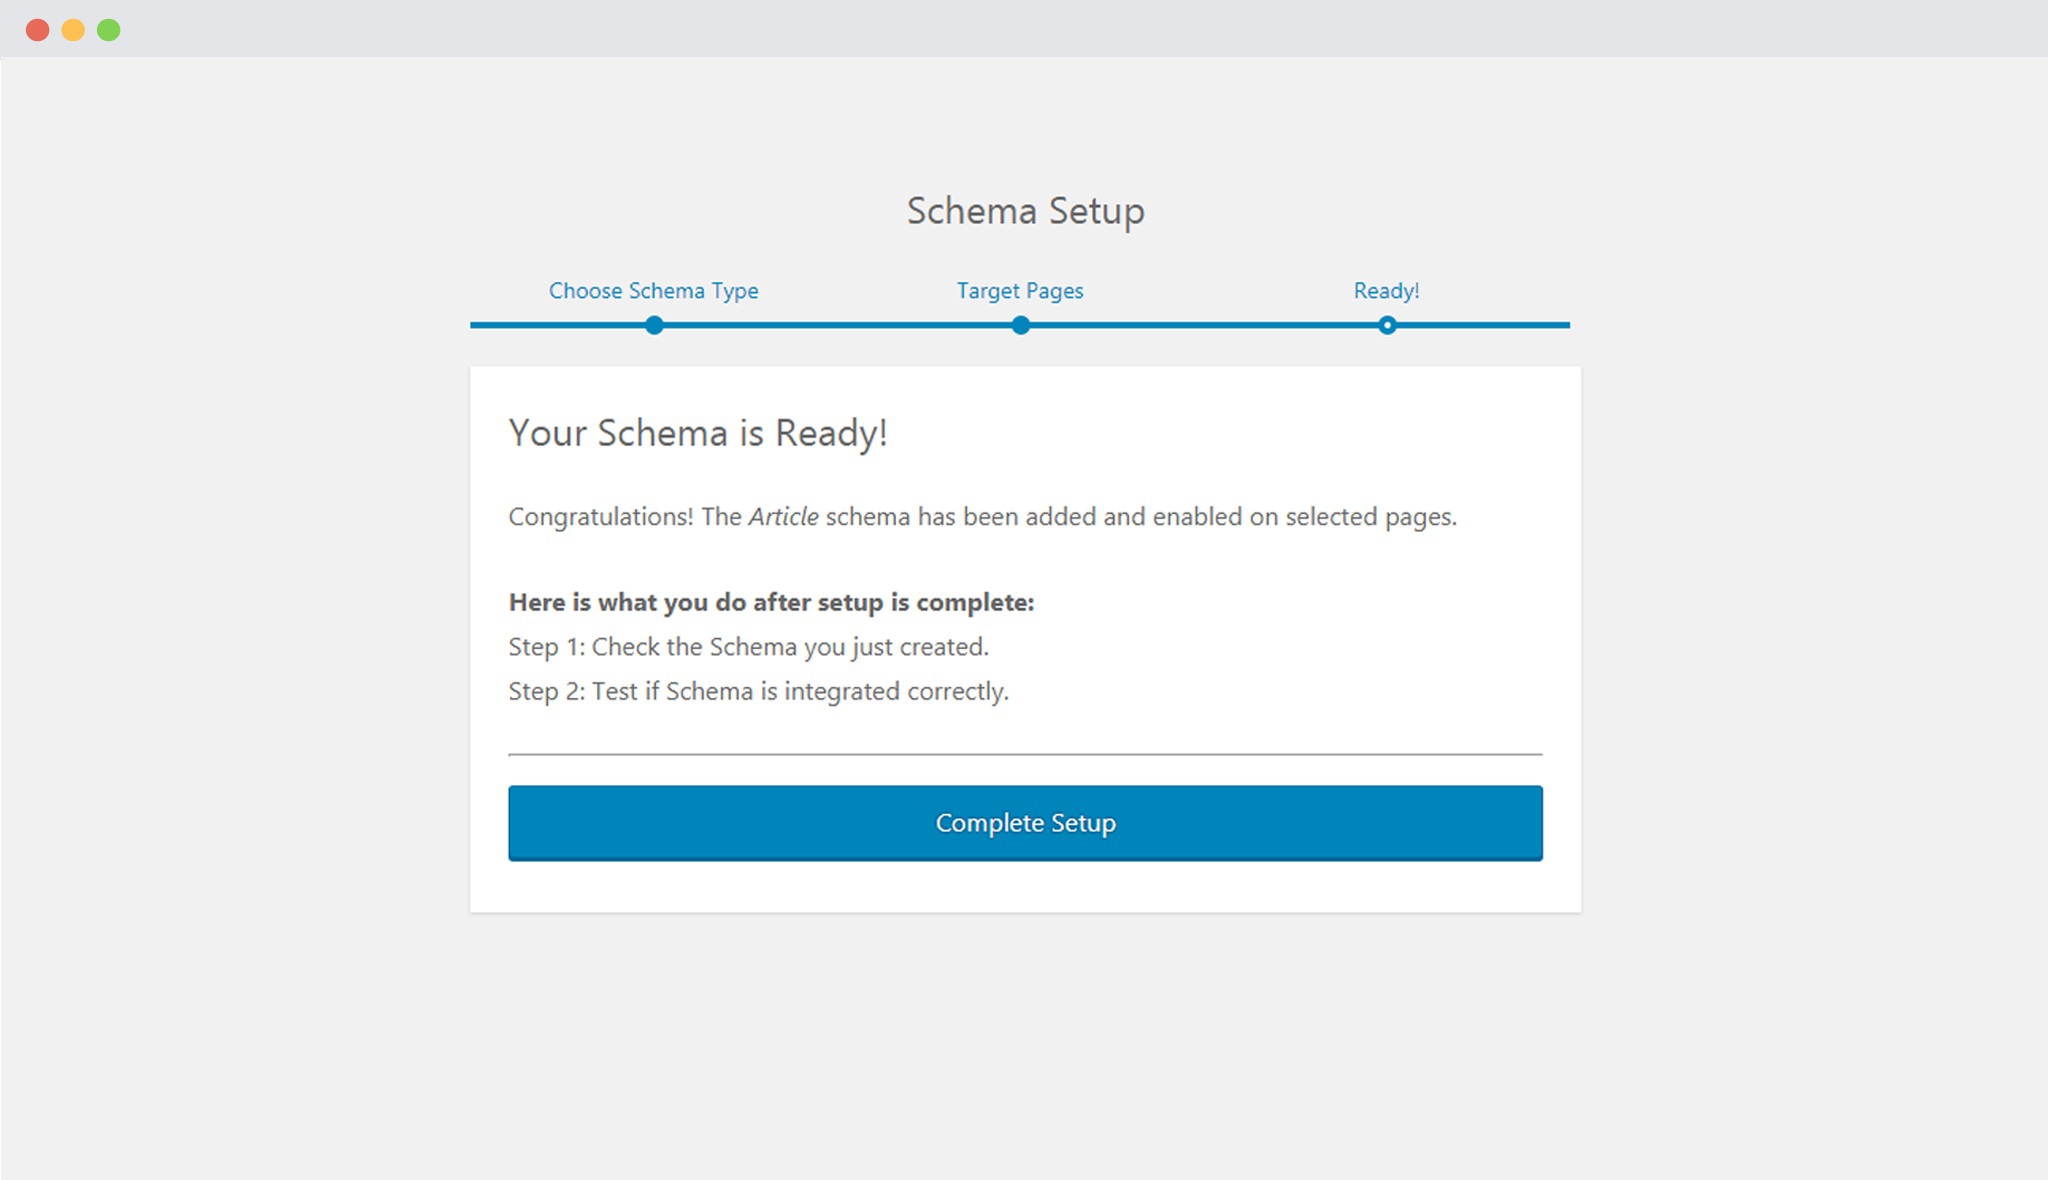
4. You can then complete the setup and proceed mapping the required properties with fields that you already have on your website. Mapping is done by default. However, we recommend you to check the mapping and make sure your required fields get the right values.
Lets take a look at the list of Schema Properties you need to fill for the Article schema markup
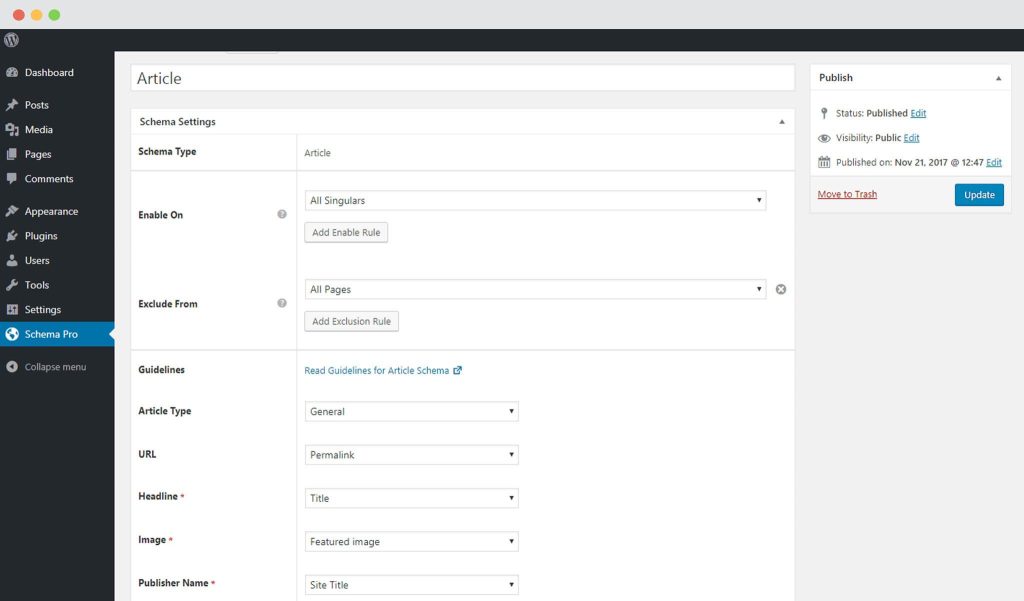
- Article Type: The type of article it is. This can be either general, a blog post or a news article.
- URL: The link of the article.
- Headline: This is the heading you wish to show in search engine results.
- Image: This can be an image associated with the article. The featured image can fit in here.
- Publisher Name: The name of the person or organization publishing the article. It can also be the website name.
- Publisher Logo: The logo of the publisher.
- Published Date: The date when the article was published.
- Modified Date: The date when the article was last modified. This helps people judge how updated the information is.
- Author Name: The name of the author/person who has written the article.
- Description: A short description or summary of what the article is all about.
- Rating: This is the star ratings the product has received.
- Review Count: The total number of reviews the product has received.
Not sure how you can map these fields? You can refer to this article that gives you a clear picture of the fields you see in the drop down menu.
5. Publish the schema!
6. Test your schema markup to see that its set well. Testing can be done with just a single click. Here is an article that will show you how you can test your schema.
You are all set to see your articles attracting readers through search engine results!
We don't respond to the article feedback, we use it to improve our support content.
